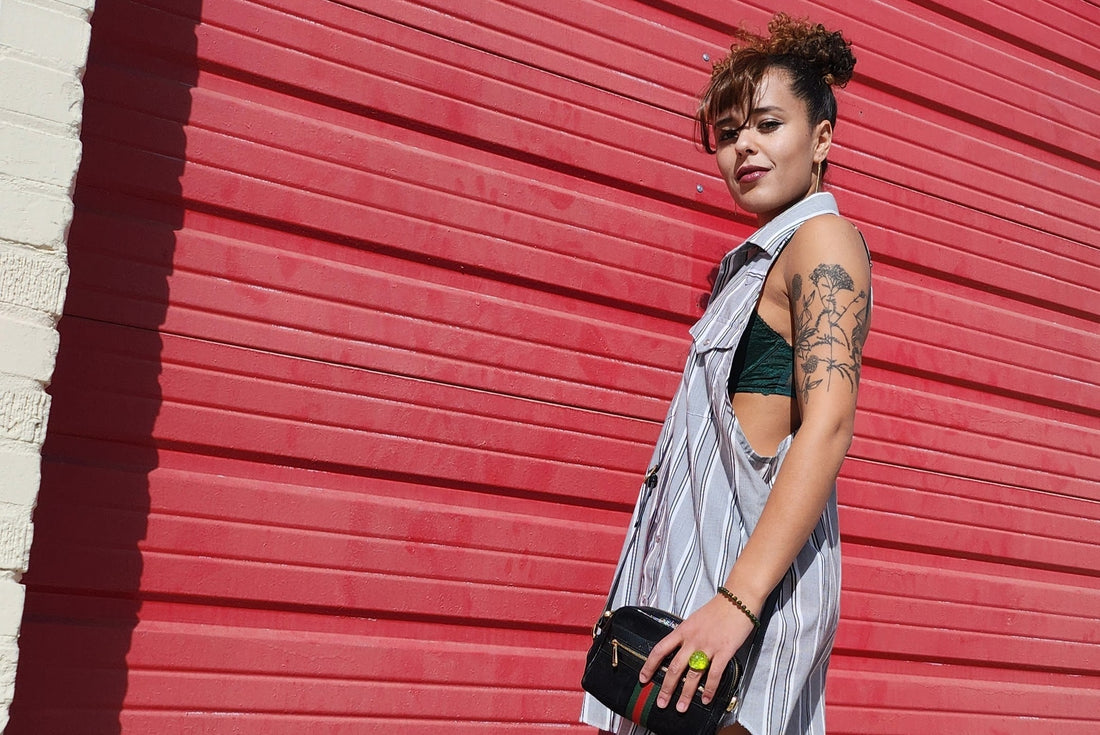
Racerback Mini Snap Mod
Share
The Project: Racerback Mini Pearl Snap Shirt Dress
We love the idea of turning a men’s shirt into a dress, and if we can save more pearl snaps from the dumpster, even better.
We started with this Men’s Size L, Panhandle Slim (Love them!), black, gray and white striped, short-sleeve Snappie thrifted for $6.99. It was a little pitted out and we decided it could use a makeover.
Supply List:
- Snappie of your choice
- A Keen Eye: on some of the less expensive shirts, the patterns aren’t centered on the yokes. Be aware of this and use measuring tools from the center point and seams to make sure the dress is even on both sides
- Measuring tools. Our pro used a French Curve/L Square ruler to measure the sleeve openings. This is nice to have, but any solid curved object that reaches from the shoulder point to the under-arm seam will work if this isn't something you plan on doing routinely.
- Scissors
- Sewing Machine
- Bias Tape
- Thread
- We didn’t use a pattern, but we did take measurements for the seamstress, Deborah, at Sew! Whateva in Albuquerque.
Costs:
|
Item |
Explanation |
Total |
|
Shirt |
7.99 #thrifted |
$7.99 |
|
Alterations |
1 hour @ alteration rate of 43.00/hr (cost of Bias tape included) |
$43.00 +Tax |
|
Approximate Total Cost |
$50.99 |
|
Time
This Snap Mod took a little over an hour for Deborah to complete once she had the drawing, measurements and bobbin wound.
Alteration Steps:
1. Lay the shirt flat on the table, pulled tight from the side seams.
2. Mark the shoulder points equidistant from the collar/shoulder seam. The farther the starting point is from the shoulder, the longer and smoother the line for the sleeve opening. We wanted a dramatic racerback, so we used 1.5” from the collar with a 1/4” for the bias.
3. Create a curved line from the shoulder mark to the side seam. Although we were careful to avoid the front pocket on this initial line, we ended up clipping the corner off the corner of the pocket with the bias/top stitch, so I’d recommend allowing a bit more slack in this measurement for a cleaner look.
4. Mark where the sleeve opening meets the back so the racerback line can be drawn on the back.
5. Flip the shirt over and either free-hand draw the dramatic racerback curve from the shoulder seam to the side seam or use a curved tool or object. Take care to avoid a point at the bottom of the sleeve opening. If necessary, open the shirt to the side seam and re-draw the bottom curve.
6. Lay the shirt out flat and cut the sleeve opening where you’ve just marked.
7. Take the sleeve that was just removed, carefully matching up the opposite side and pin the cut side to the uncut side so that both the front and the back of the uncut sides are tucked into the cut sleeve. (In our design, the cuts on the front and back are different)
8. Open the shirt back up so the back can be cut separately from the front and carefully cut around the pattern. Cut slowly and deliberately, little by little, moving the garment as the cut is made to avoid unintended cuts on the opposite side of the garment.
11. Mark and pin each side at 1” from the seam to take in the body of the dress 4 total inches.
12. Take in each side by sewing along the marked, pinned side seams.
13. Finish the sleeve openings. To clean up the edges, we chose gray bias tape and sewed the sleeve openings into the fold of the bias tape. Line up the edge of the bias with the edge of the cut so that the needle is hitting the fold. This could be pinned in advance, but Deborah chose to sew it as she went.
14. Press the side seams and the sleeve openings.
That's it. Snappie Mod'd.
The Finished Product