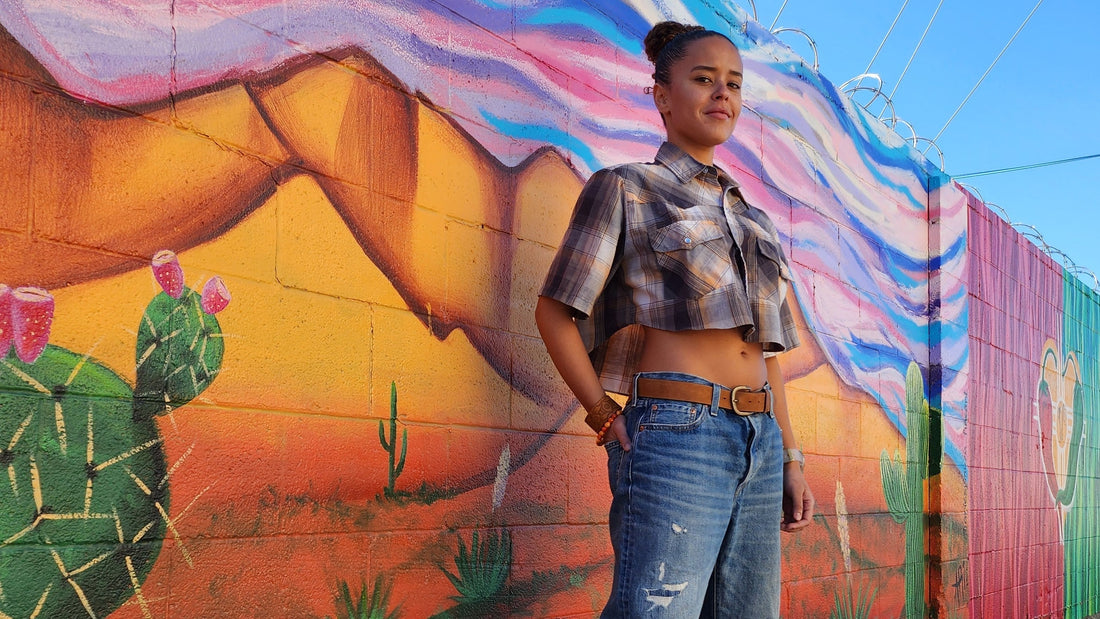
90's Vibe Crop Top Snappie
Share
The Project: 90's Vibe Crop Top
We originally wanted to use a really cool men’s 3X thrift store find to give it a super baggy 90’s feel, but the shirt recipient is a women’s size 4 and it would have required more modifications than we wanted to put in, so we opted for this super cute men’s Size L for a women’s size S model:
This is a fun pearl snap shirt, originally produced by Canyon Guide Outfitters, but we thought we could give it a whole new life with a simple modification. We wanted to preserve the rough surged hemline look of the untucked shirt, save as many snaps as possible and still have the western feel of a Snappie. The only real alteration for this SnapMod is a change in hemline, so we didn’t need a pattern. Use the old construction adage: Measure twice, cut once.
Supply List
- Snappie of your Choice (we used short sleeve)
- Measuring Tools - Our pro used a French Curve/L Square ruler to mimic the existing hem. This is nice to have, but any solid curved object or free-hand even works. A straight edge and some sort of ruler will be necessary.
- Scissors
- Sewing Machine
- Thread
Cost
|
Item |
Explanation |
Total |
|
Shirt |
6.99 #thrifted |
$6.99 + Tax |
|
Alterations |
1 hour @ alteration rate of $43.00/hr |
$43.00 |
|
Approximate Total Cost |
$49.99 |
|
Time
This simple SnapMod took about an hour.
Alteration Steps:
Take into account the size of the original shirt and the measurements of the person who it’s being made for. We have a mannequin the right size, so we just marked the midpoint of the shirt where we wanted it to fall with a ½”: seam allowance on the mannequin, but this is easily accomplished on a human as well.
1. Mark the Midpoint Center on the front of the shirt.
2. Once the midpoint is marked, lay the shirt out and determine the drop from the side seam to the midpoint and create a curved line mimicking the original hem. We used a 2” drop. So we drew a straight line 2” above the midpoint to the side seam and double-checked the measurements from the bottom edge of the sleeve. You might have to play with this a bit depending on the size of the garment you’re starting with. Take into account where the last snap will fall above the waist.
3. Snap the shirt together and lay the shirt flat, making sure the seams are aligned on each side.
4. Mimic the curve of the existing raw hem and draw one one half of the front, and that same half of the back.
5. Cut the first half of the front and then the back.
6. Align the snaps as well as the side seams and pin the cut half to the uncut half.
7. Cut the 2nd half of the front and then the back, tracing around your first cuts.
8. Lay flat, double check the hem and trim if necessary.
9. Load a bobbin with a fun, bright thread and sew the hem or surge the hem for a less finished look.
10. Don’t forget the press the hem and you’re done! That’s it! Snappie Mod'd.
Finished Product
Styled with Nike Air Jordans and baggy Levis 501’s. Cuz…90’s.